Windows Endpoint Agent
Installation
This section will demonstrate how organisations can download, and install the Endpoint Agent.
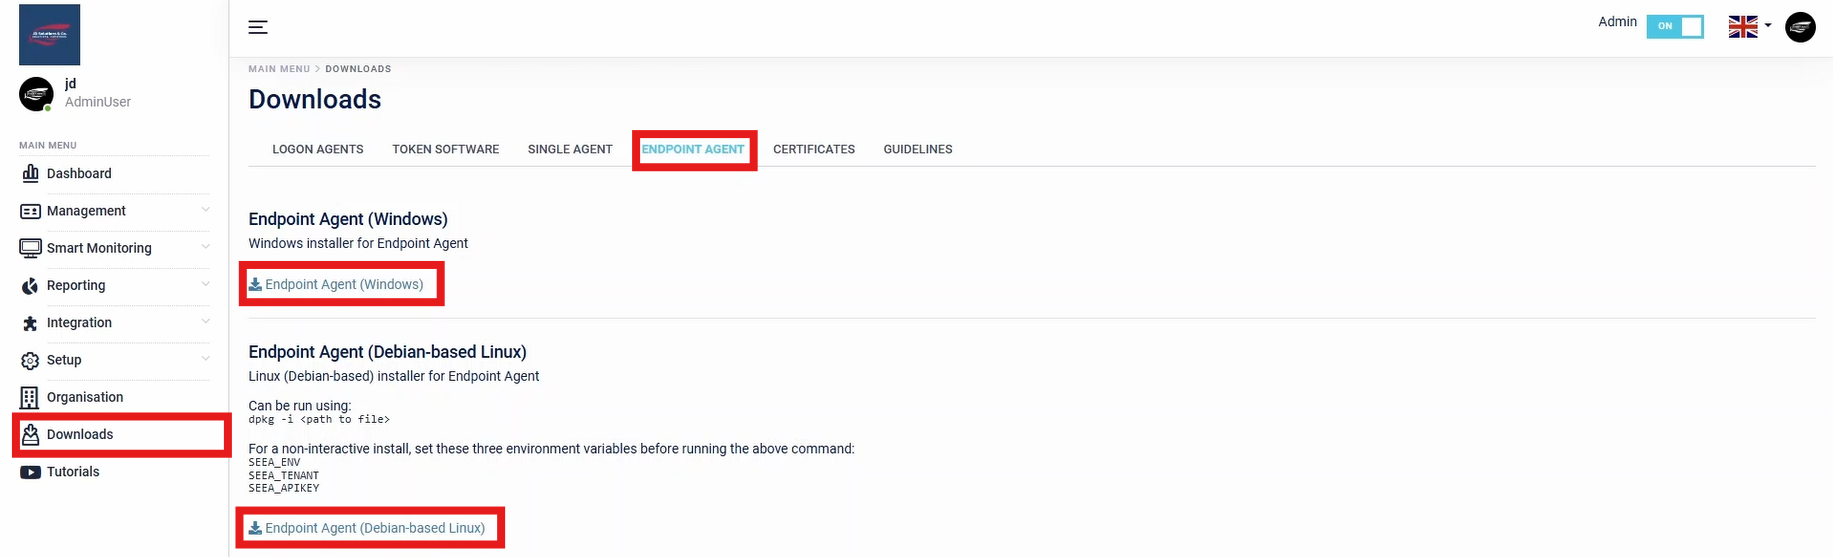
- Navigate to the Downloads section of the SecurEnvoy Access Management Administration Console.

- Download the Endpoint Agent Installer Package, either for Windows or Debian-based Linux.
- Install the Endpoint Agent Installer Package to the desired target machine.
![]()
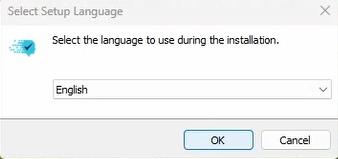
- Specify the language to use during the installation.
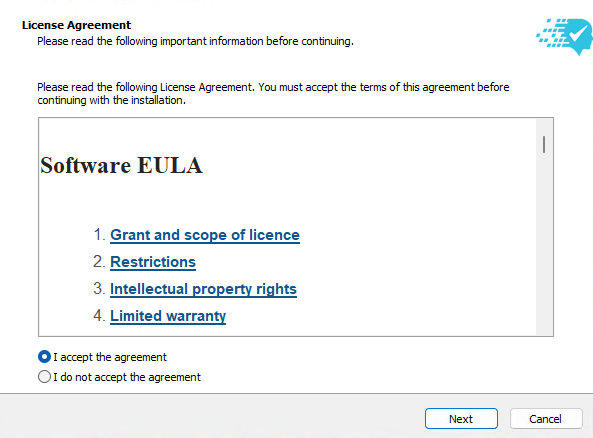
- The organisation must now read the Software EULA Agreement. This must be accepted in order to continue with the installation.
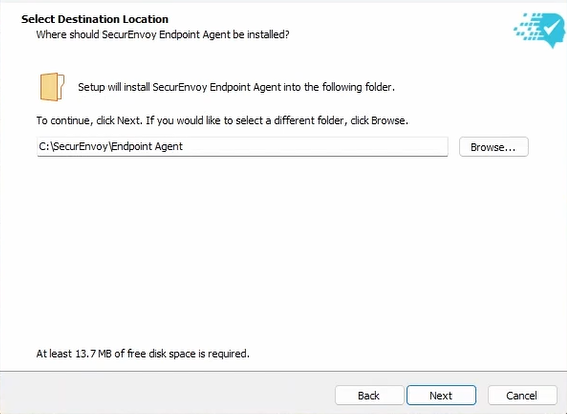
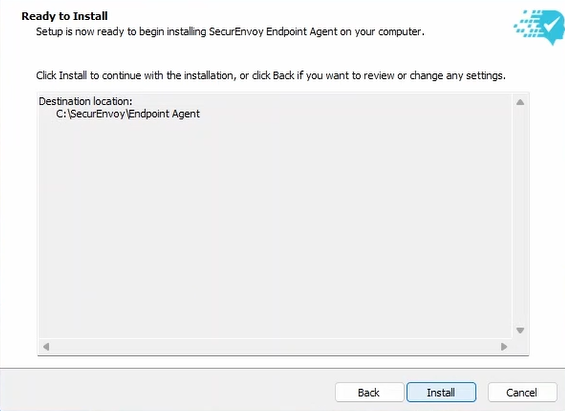
- Organisations are required to select a Destination Location for the Endpoint Agent to be installed. The default is "C:\SecurEnvoy\Endpoint Agent".
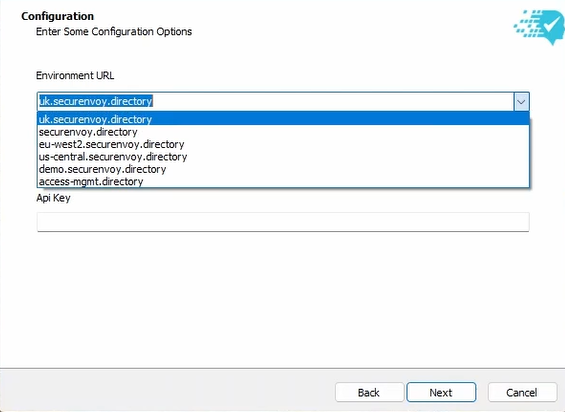
- Fill in Organisation Specific details for the SecurEnvoy Access Management Tenant.
Tenant Regions
- "uk": London, UK (TENANT.uk.securenvoy.directory)
- "eu-west2": Frankfurt, DE (TENANT.eu-west2.securenvoy.directory)
- "us-central": Iowa, US (TENANT.us-central.securenvoy.directory)
- "demo": London, UK (TENANT.azuredemo.mysecurenvoy.com)
- "on-premises": (TENANT.access-mgmt.directory)
Tenant Name This is the tenant name of the Access Management Tenant. Organisations can find this information by navigating to "Organisation" > General Details > Tenant on the Access Management Administration Console.
API Key This is the API Key set up for the Endpoint Agent. If an API Key has not already been set by the organisation, please continue to the next step where API Key generation is shown.
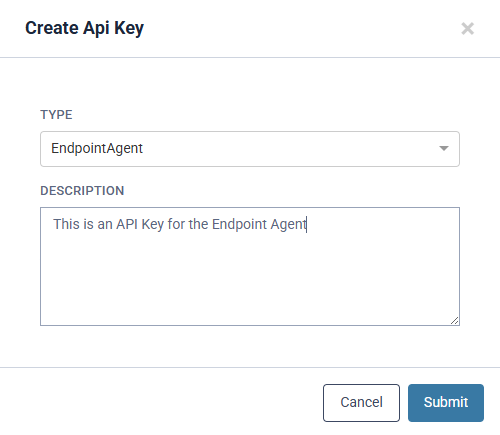
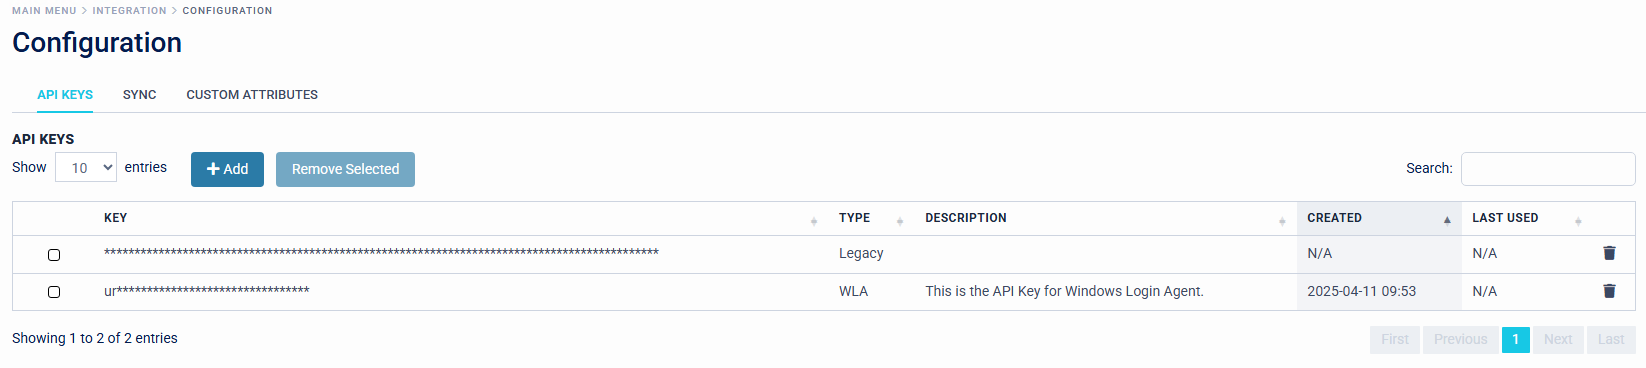
- Organisations are required to generate an API Key for all agents on the Access Management Platform. This can be generated by navigating to Configuration > API Keys > Add.
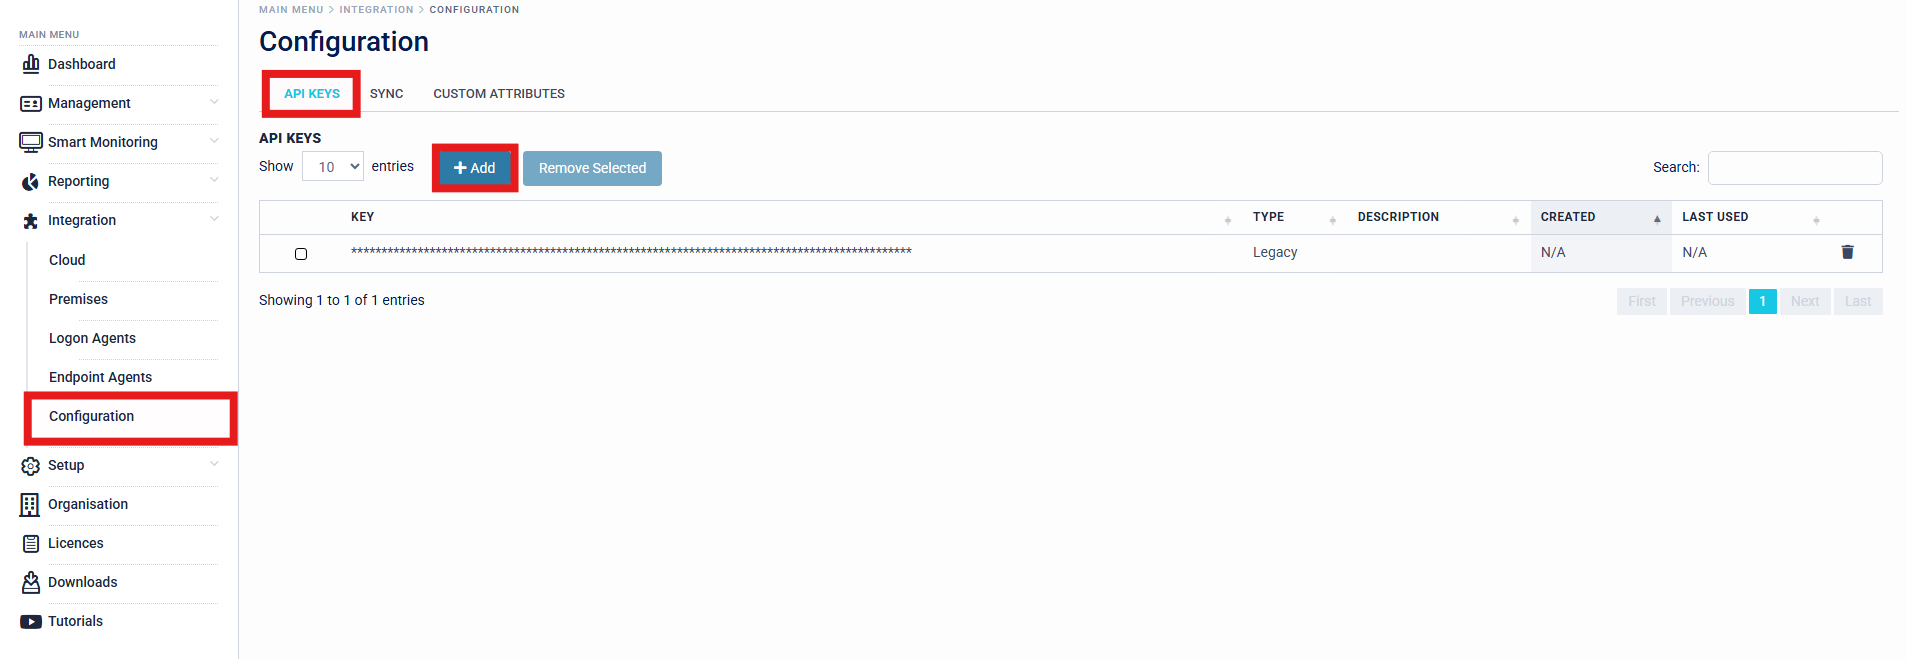
SecurEnvoy recommends that organisations create a separate API Key for each agent usage, for example - creating a separate API Key for the Organisations SingleAgent for LDAP Connectivity, and a separate API Key for the Organisations Endpoint Agents.
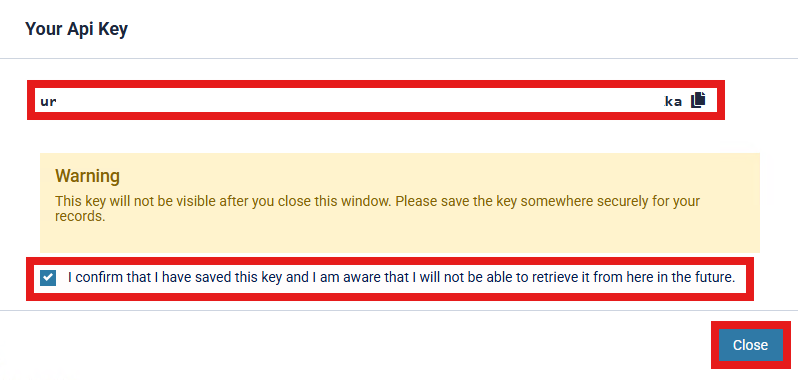
- Once API Key is generated, Organisations can copy the API Key and store this in a secure place which can be obtained when required. Confirmation is required that the API Key is saved and Organisations are aware that the API Key will not be retrievable in the future.
Organisations are required to back up and save API Keys that are generated, as these can not be revealed after closing the prompt. If an API Key is lost a new API Key will need to be generated and rolled out. It is therefore very important that these keys are backed up.
API Keys will be displayed in the Access Management Platform with "Type", "Description", "Created" and "Last Used" Information, to give Organisation Administrators an efficient view of API Key's in rotation across the estate.
- Configuration is now complete and the setup is ready to begin installing the Endpoint Agent onto the target Machine. Installation will extract files to C:\SecurEnvoy\Endpoint Agent.
- After the target machine has completed the installation, this will be registered on the SecurEnvoy Access Management Platform, ready to be used.
