Single Agent
Installing the Single Agent
Pre-requisites
The Single Agent requires that both the .NET Runtime 8 and ASP.NET Core Runtime 8 are installed.
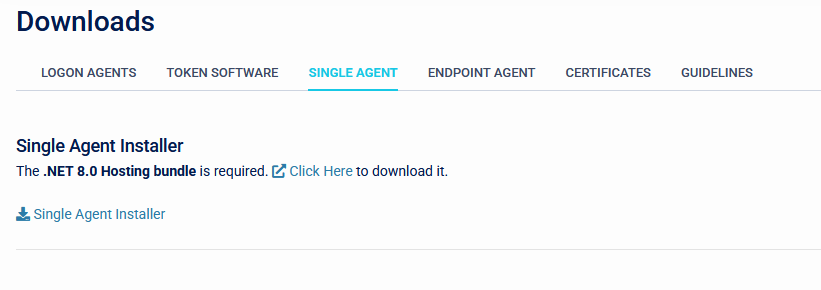
An easy way to install these is the .NET 8 Hosting Bundle.
- The Single Agent can be downloaded from the Downloads page. Once the pre-requisites are installed the Single Agent installer can be run.
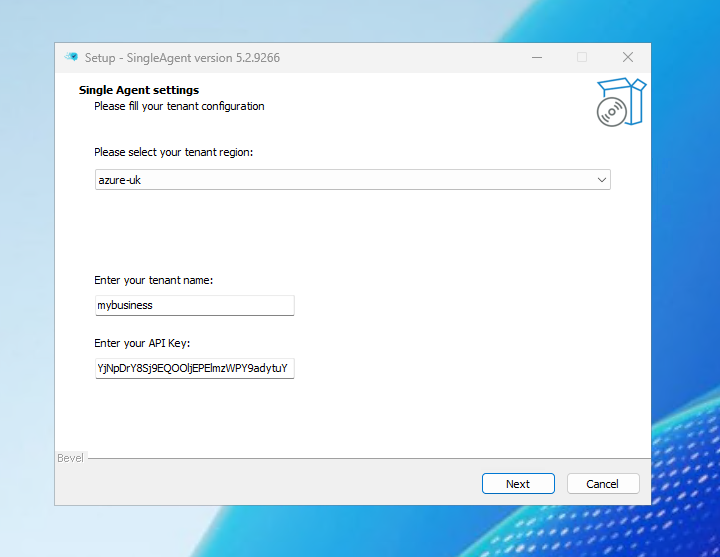
- After choosing the language, the installer will ask for the connection details for the SecurEnvoy tenant. Select the appropriate tenant region from the dropdown list and enter the tenant name (this is the subdomain part of the Access Management URL). The API key is configured under Integration/Configuration.
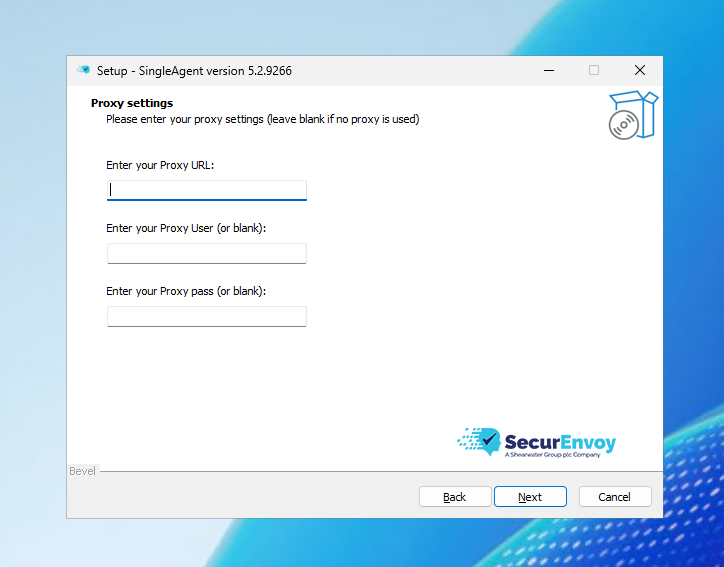
- The next page of the installer allows proxy settings to be configured. This can be left blank if no proxy is in use.
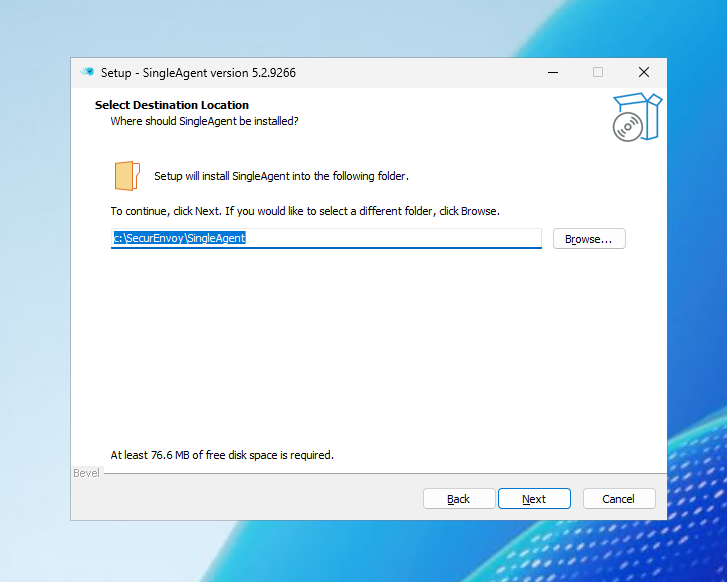
- Select the desired installation location. This can be left to its default.
- Start the SecurEnvoy.SingleAgent service in services.msc

Service Account
It is recommended to run the Single Agent service using a service account to allow updating the agent through the webUI. This account can be a local account or a domain account and does not require any special permissions.
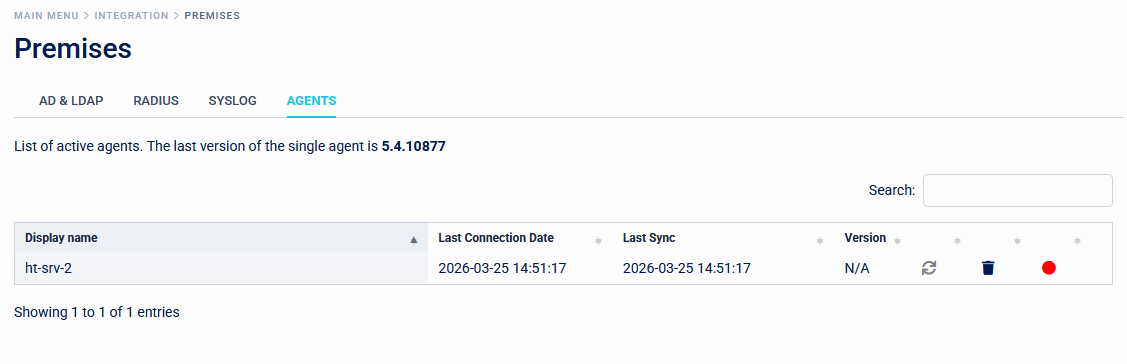
The Single Agent will now appear in the Integration > Premises > Agents page in the platform.
Uninstalling the Single Agent
- Stop the SecurEnvoy.SingleAgent service in services.msc

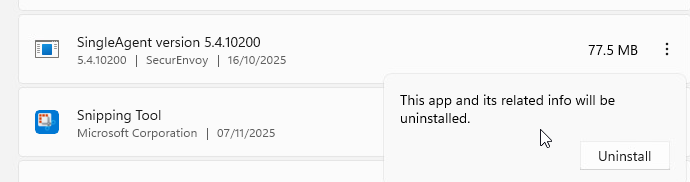
- Uninstall the Single Agent from Installed Apps
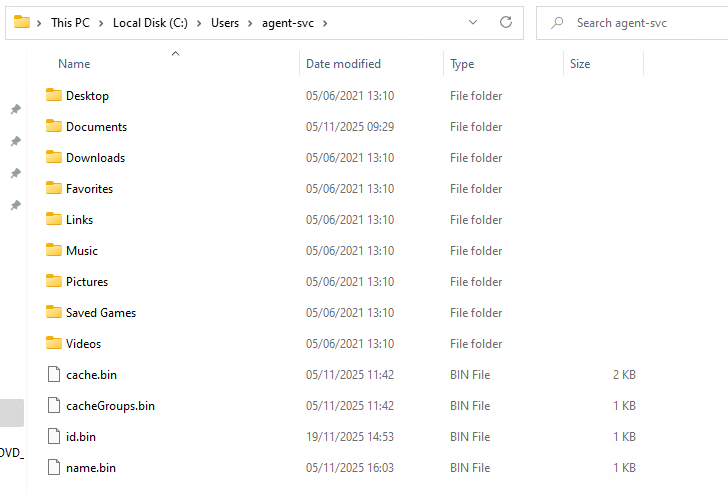
- Delete the following .bin files from the service account's User folder: cache.bin, cacheGroups.bin, id.bin, name.bin
- Remove the old agent from the list on the Integration > Premises > Agents page in the platform.