Access Management On-Prem Linux
Specifications
| Minimum Specs | 500 Users | 1000 Users | 10,000 Users | |
|---|---|---|---|---|
| CPU | 1 core | 4 cores | 6 cores | 8 cores |
| RAM | 4 GB | 12 GB | 16 GB | 32 GB |
| Disk | 50 GB | 200 GB | 200 GB | 500 GB |
Pre-requisites
- A linux server with internet access
- A user account capable of running commands with elevated permissions (sudo membership)
- A DNS A record that matches the FQDN that will be used to access Access Management.
If you are using the pre-configured SSL Certificate and would like to publish your Access Management Tenant externally, please email SecurEnvoy support with this requirement, along with your tenant name and Public IP address that this will resolve to, and we can register this in our DNS records.
Setup
1. Download and run the installer
Use "wget" to download the latest Access Management On-Premise executable from SecurEnvoy: wget https://software.securenvoy.com/am/80589bfc-d587-4cc2-9284-4301b6cd6901/AccessManagement.
Change the permissions on the downloaded file to allow execution: sudo chmod +x AccessManagement.
Run the Access Management installer sudo ./AccessManagement.
The installer will now present the interactive installation steps.
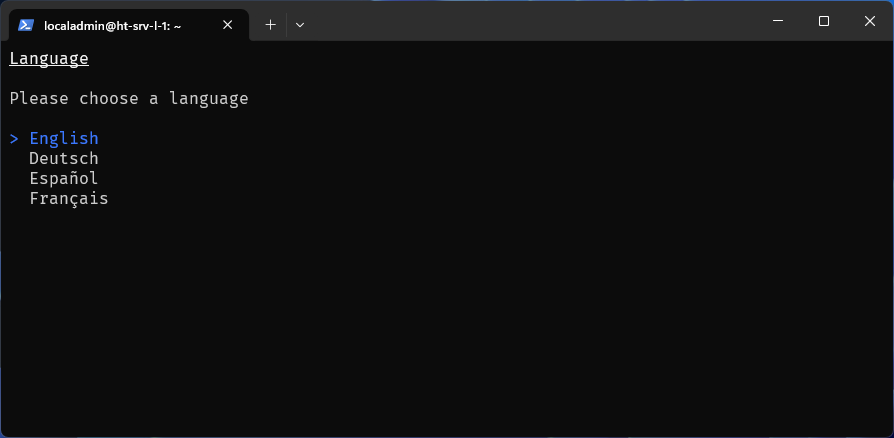
2. Choose a language for the installation process.
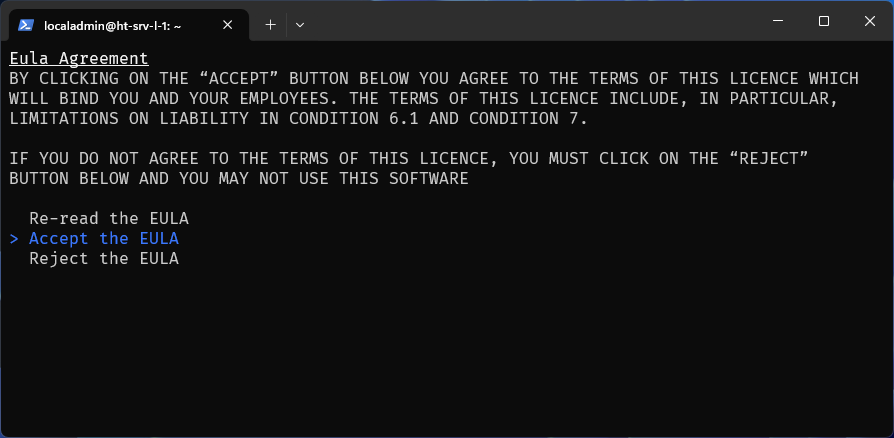
3. Accept the EULA.
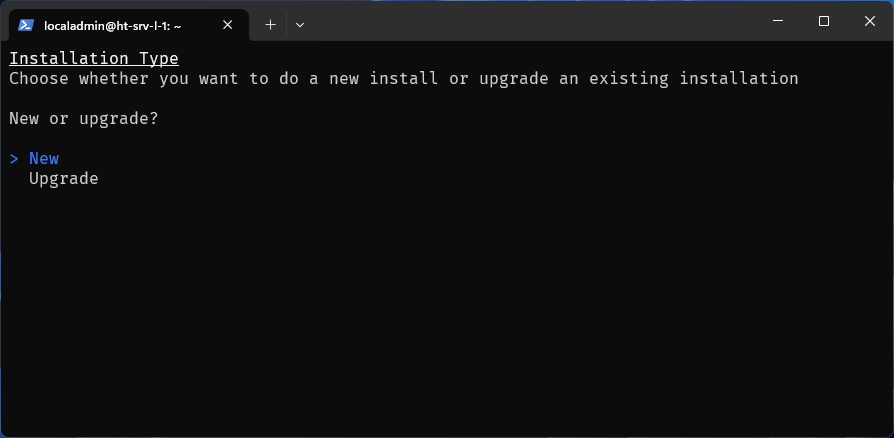
4. Select 'New' to install a new installation.
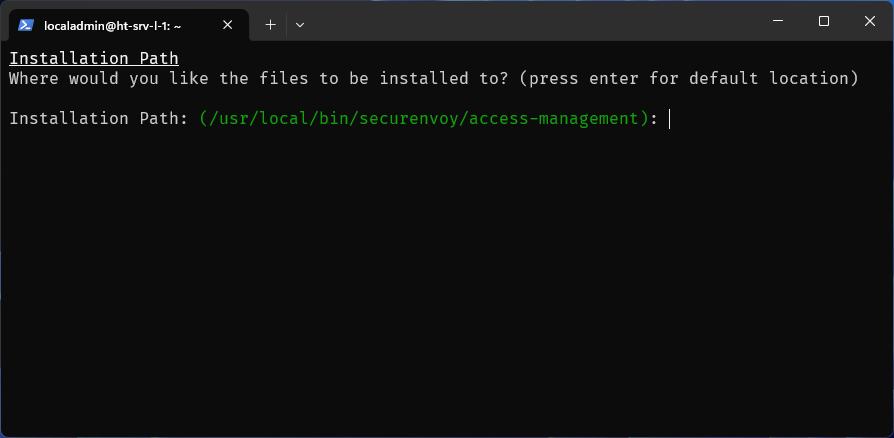
5. Specify the installation path.
By default this is /usr/local/bin/securenvoy/access-management.
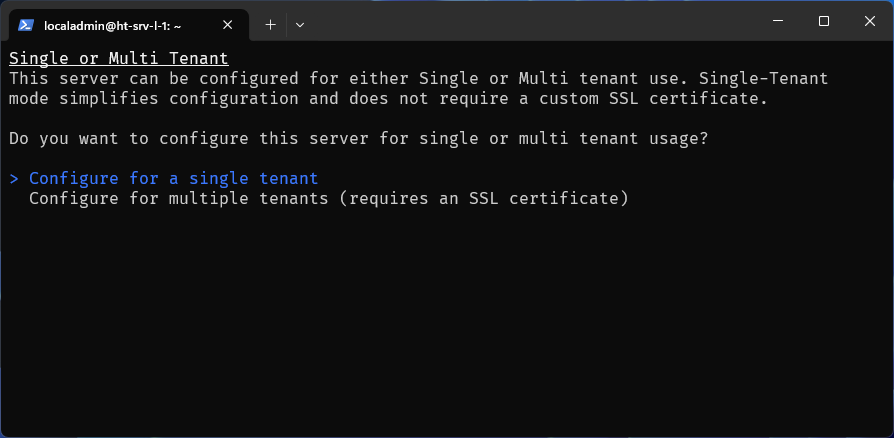
6. Specify Single Tenant or MSP.
Choose if the installation is for a single tenant (most common) or for multiple tenants (for MSPs).
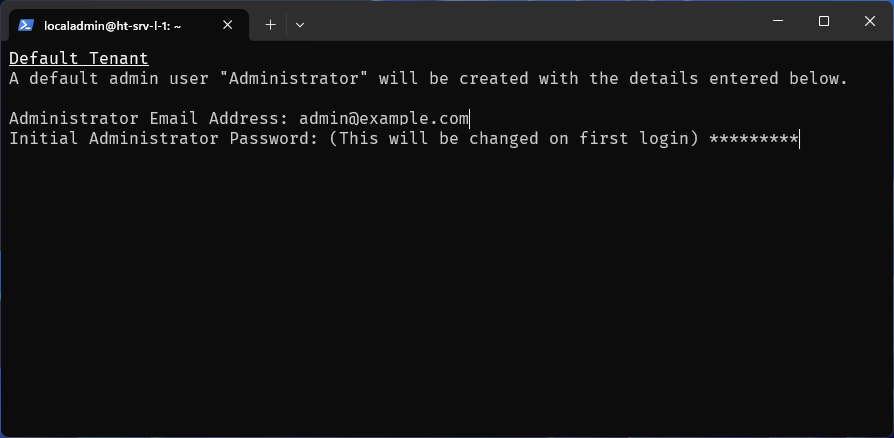
7. Enter the initial admin credentials.
The email address will be used for the default administrator account. The password will be changed upon first login.
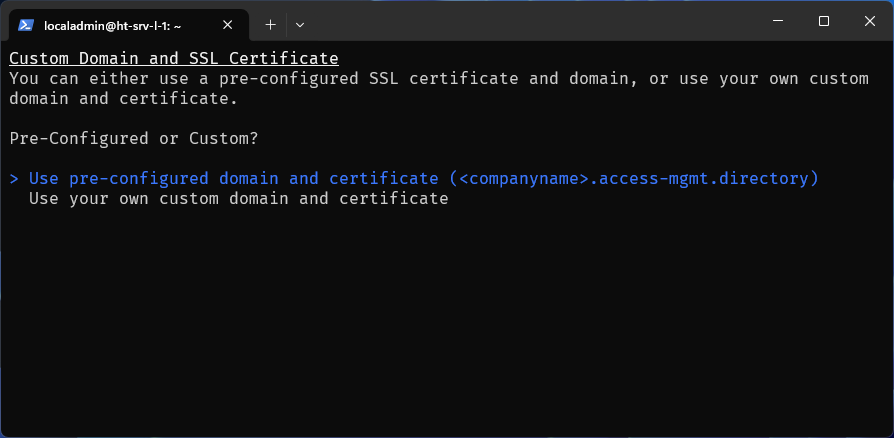
8. Choose a certificate.
Select whether to use the preconfigured SSL certificate provided by SecurEnvoy (companyname.access-mgmt.directory) or provide a custom SSL certificate.
9. This step will differ depending on which certificate option you selected:
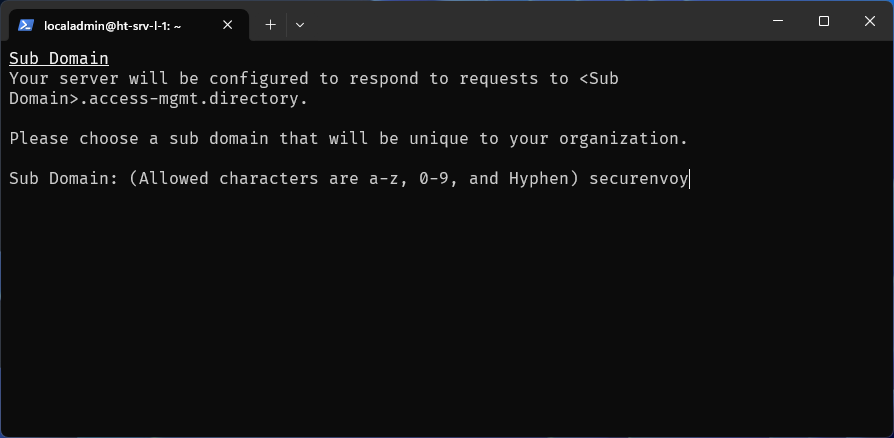
Use Pre-Configured Domain and Certificate
Specify the sub domain that you will use for Access Management. We recommend using your company name here.
Your server will be configured to respond to requests to <sub domain>.access-mgmt.directory.
Use Your Own Custom Domain and Certificate
Enter the path to the certificate file.
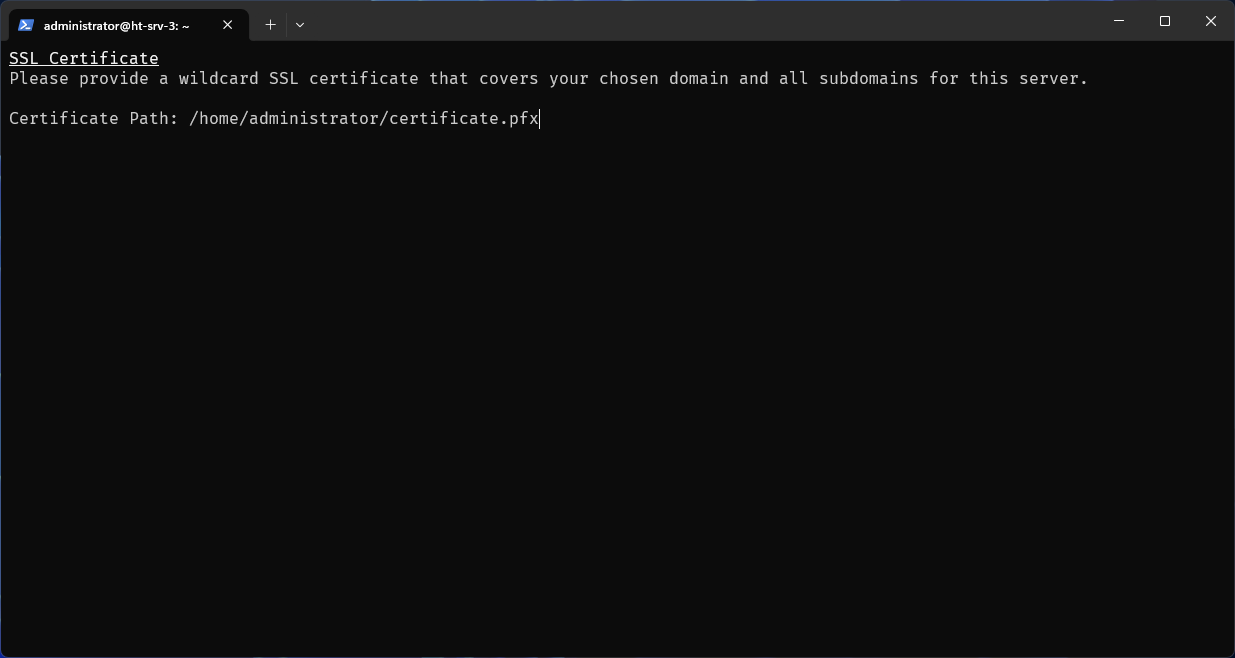
This must be a client certificate (i.e. not a CA certificate), and must be in .pfx format. The CN of the certificate will depend on whether you chose single or multiple tenant support:
Single Tenant Support
The CN should be the full hostname that you intend to use for Access Management (e.g. accessmanagement.company.com)
Multiple Tenant Support
The CN should be a wildcard domain that will cover all hostnames you intend to use for Access Management (e.g. *.accessmanagement.company.com)
Enter the domain for the certificate. For multiple tenant support, remove the wildcard part of the domain (e.g for *.accessmanagement.company.com, enter accessmanagement.company.com)

Enter the password for the certificate.
IMAGE HERE
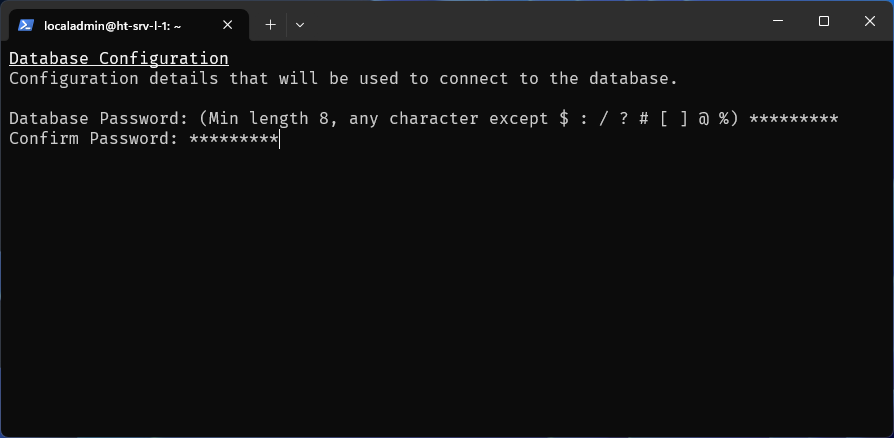
10. Set a password for the database.
Make sure to store this password securely as you will not be able to change the database without it.
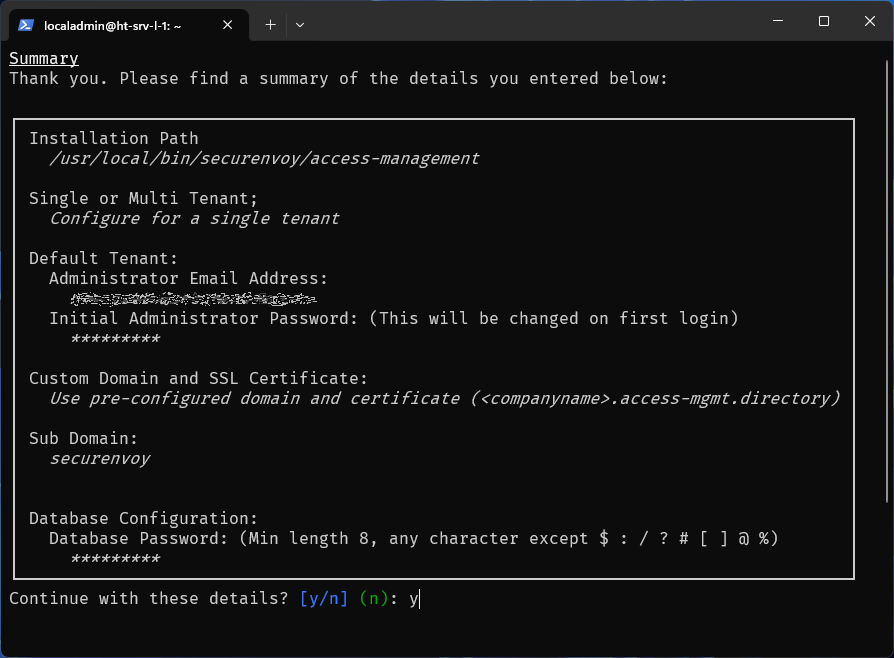
11. Check the configured settings.
Confirm the details are correct before proceeding with the next steps.
12. Choose the Docker options.
Select whether to install Docker (required unless already installed) and run the Docker compose script.
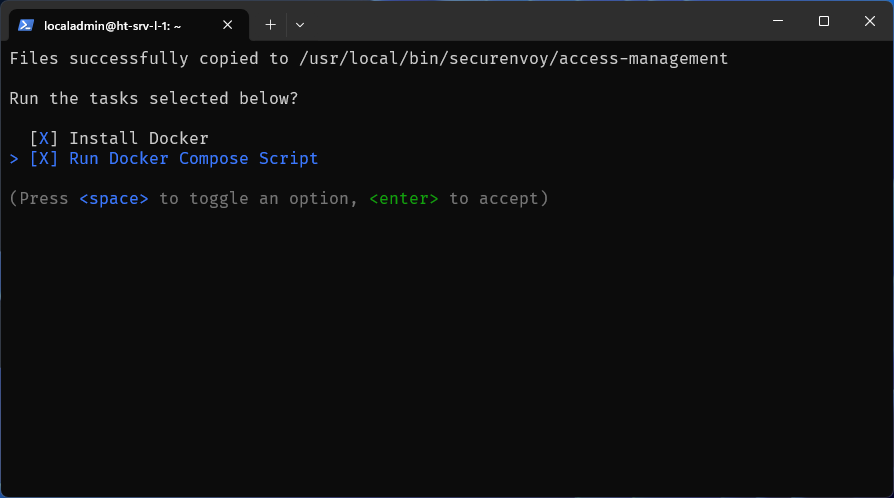
SecurEnvoy Access Management will now download and install the latest Docker images.
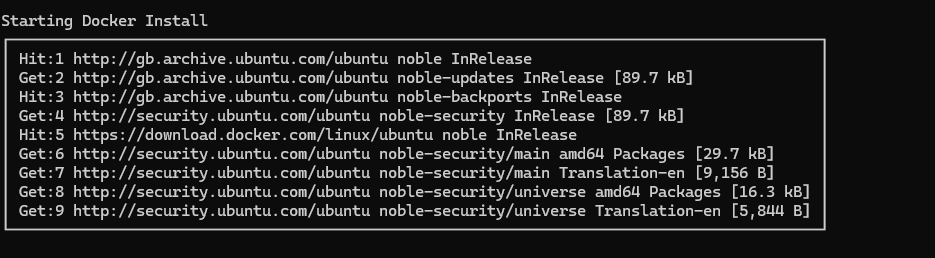
Once the installation process has completed, check that the containers are running by running the following command: sudo docker ps.
Access Management is now ready to use.
13. Sign in to Access Management.
Go to the Access Management URL configured in step 11, for example: https://securenvoy.example.com. Sign in with the 'administrator' username and the password created in step 9.
Access Management will show a prompt to change the administrator password. Ensure this password is stored securely.
If Access Management was configured for multiple tenants there will be a default tenant called 'admin'. In this example this would be reachable at: https://admin.securenvoy.example.com.
Upgrade
This will temporarily stop your service until new Docker images have been pulled and restarted.
- Navigate to the Access Management installation directory. By default this is:
cd /usr/local/bin/securenvoy/access-management. - Stop the containers by using the command:
sudo docker compose down. - Use "wget" to download the latest Access Management On-Premise executable from SecurEnvoy.
wget https://software.securenvoy.com/am/80589bfc-d587-4cc2-9284-4301b6cd6901/AccessManagement - Change the permissions on the downloaded file to allow execution.
sudo chmod +x AccessManagement - Run the Access Management installer.
sudo ./AccessManagement
The installer will now present the interactive installation steps.
- Choose a language for the installation process.
- Accept the EULA.
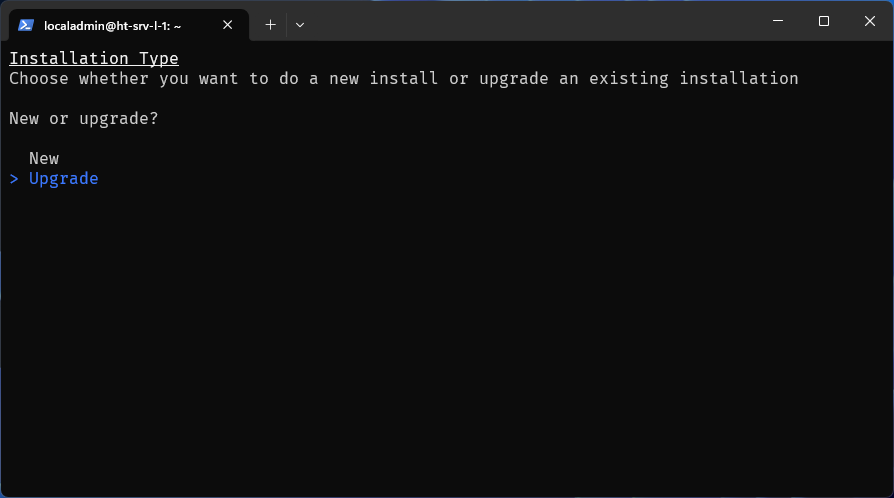
- Select 'Upgrade' to update an existing installation.
- Specify the installation location. By default this is /usr/local/bin/securenvoy/access-management.
- Confirm the details are correct before proceeding with the next steps.
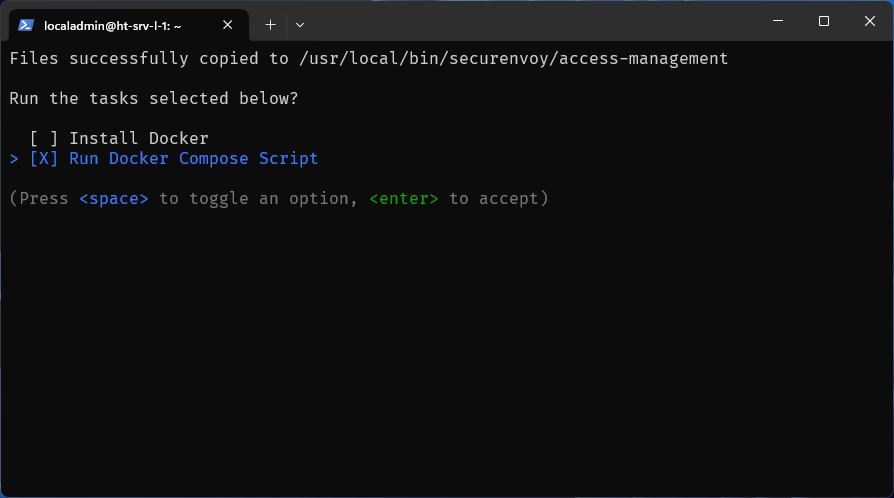
- As Docker will already be installed, only select 'Run Docker Compose Script'
SecurEnvoy Access Management will now download and install the latest docker images.
- Once the installation process has comleted, check that the containers are running by running
sudo docker ps.