Access Management On-Prem Windows
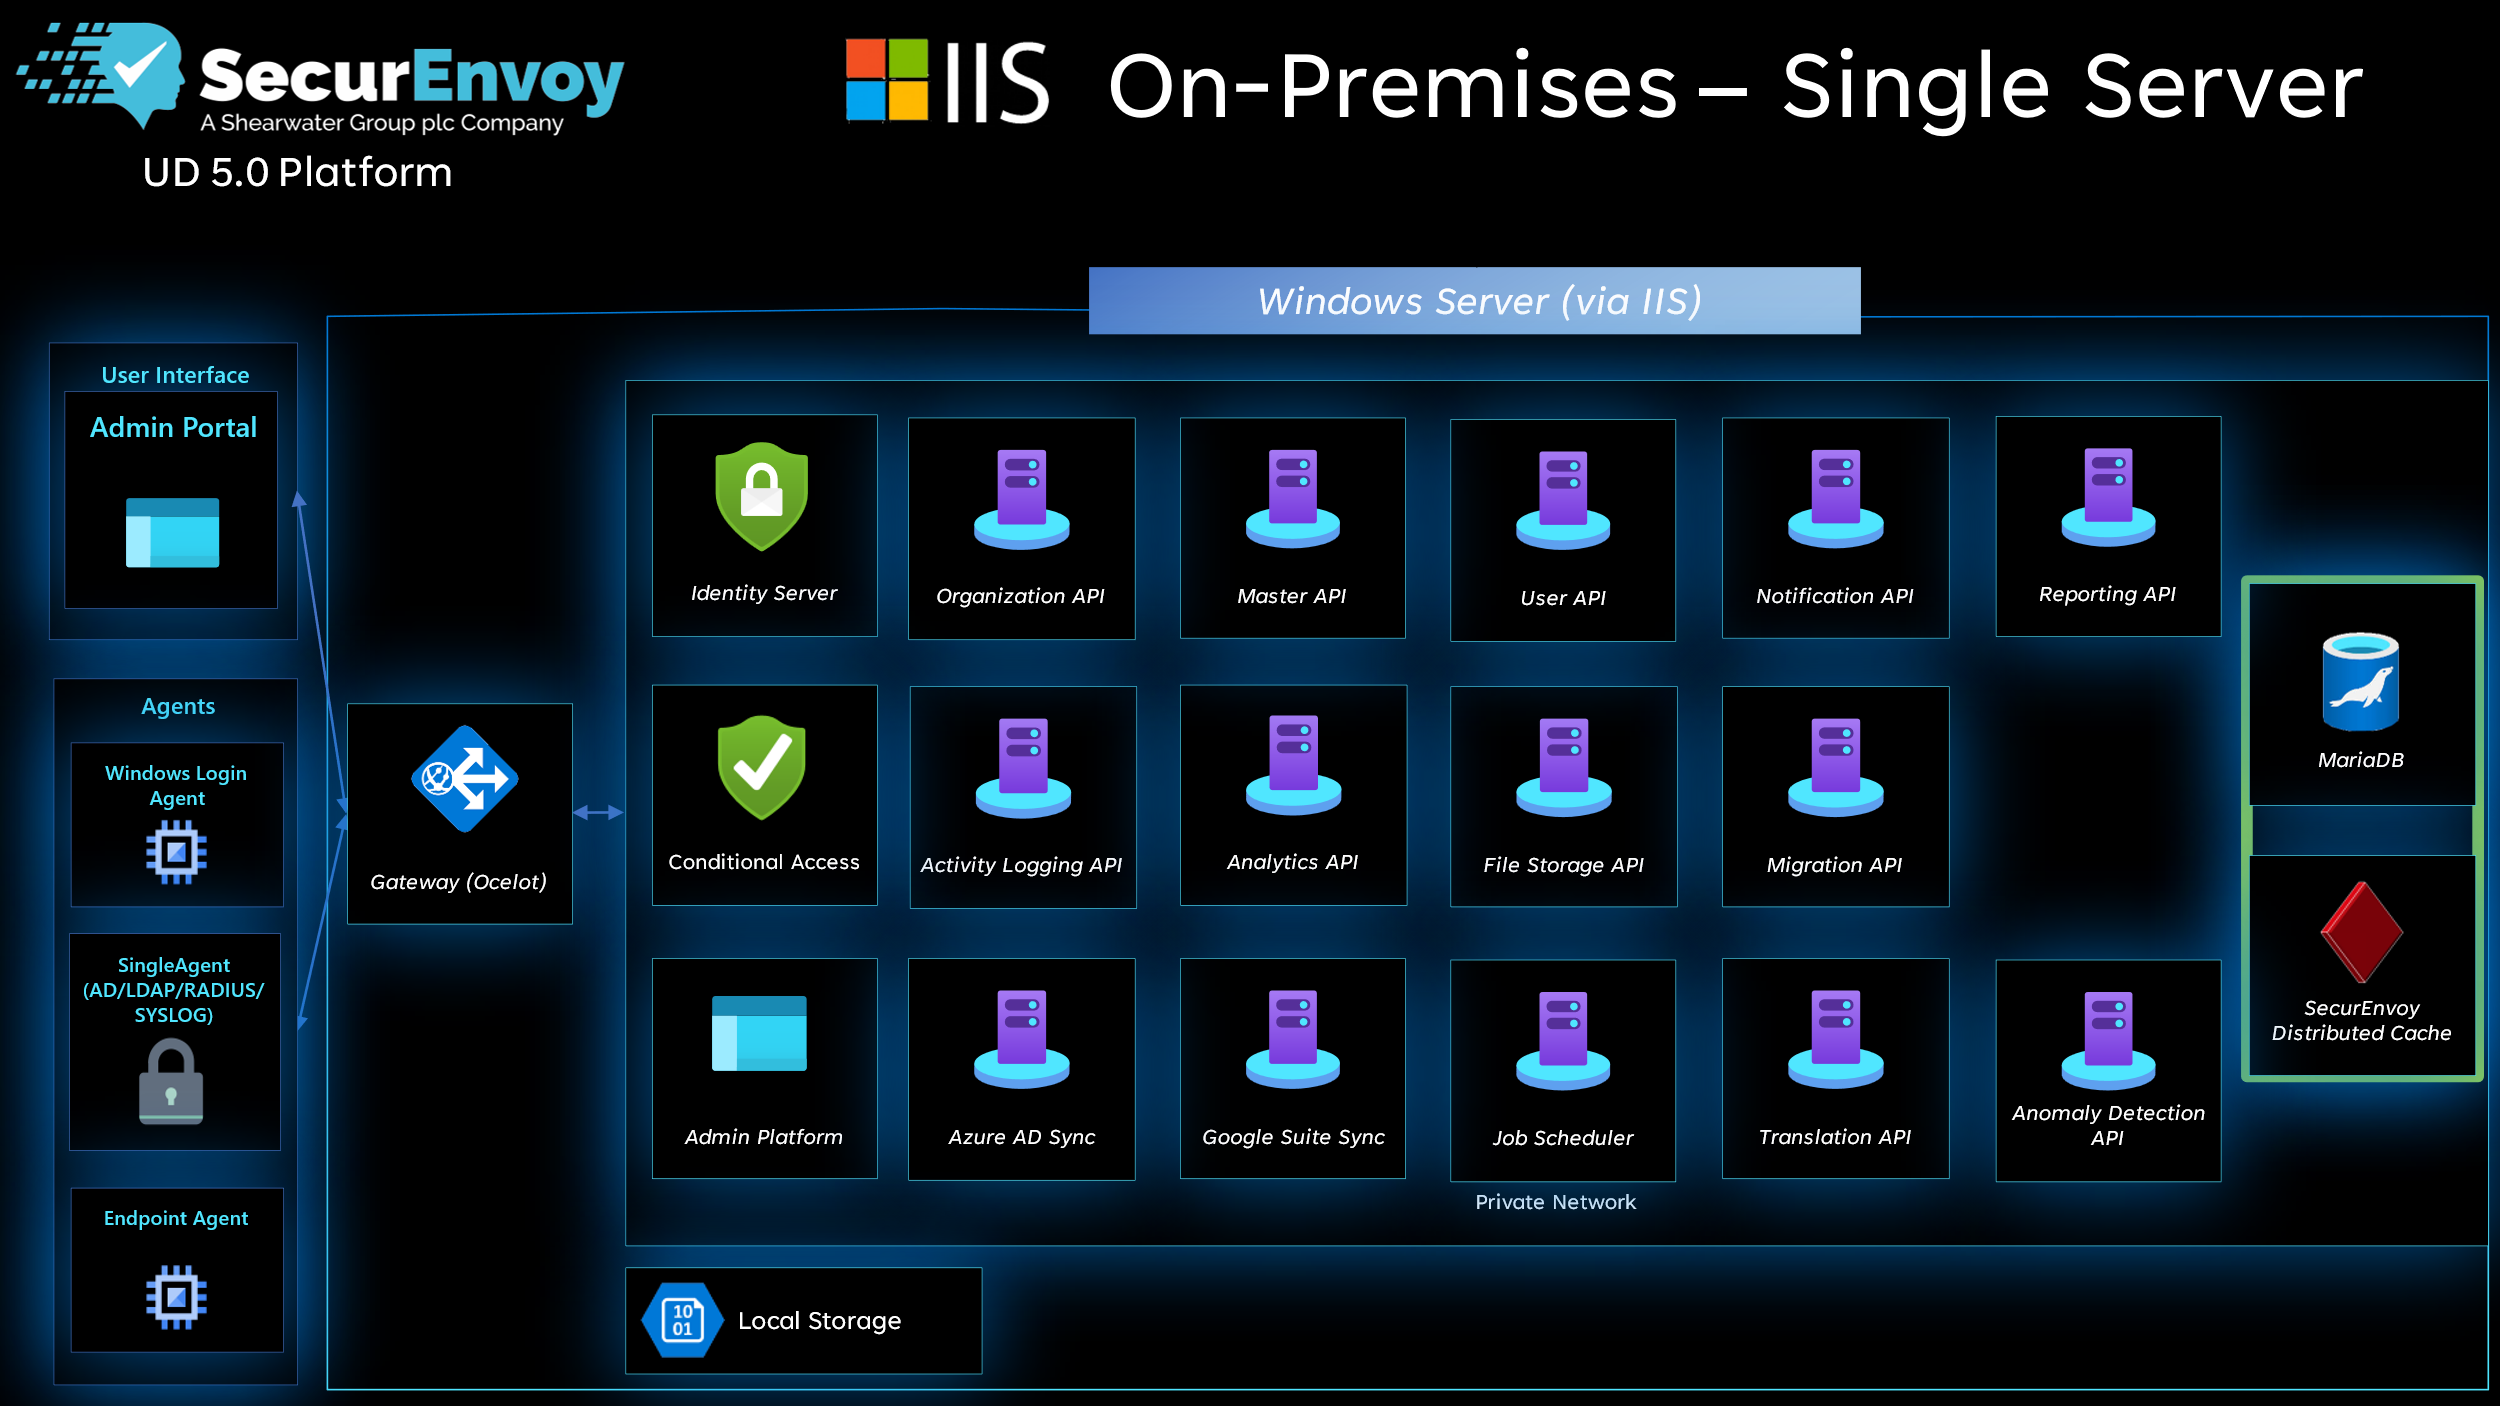
Specifications
| Minimum Specs | Recommended Specs | |
|---|---|---|
| CPU | 1 core | 4 cores |
| RAM | 4 GB | 16 GB |
| Disk | 50 GB | 250 GB |
Pre-requisites
- A Windows server 2022 or newer, with internet access
- A user account capable of installing programs.
- Microsoft IIS with the CGI and Websocket Protocol modules.
- Microsoft HttpPlatformHandler.
- Microsoft .net 8.0 hosting bundle.
- Python 3.14 (Ensure the following options are enabled during installation: "Install Python for all users", "Add Python to environment variables", and "pip").
- MariaDB for Windows with 'Enable access from remote machines for root user' enabled.
- A signed SSL Certificate for the FQDN you will use for Access Management (wildcart certificates are accepted).
- A DNS entry for the FQDN you will use for Access Management.
The certificate must be a client certificate (i.e. not a CA certificate), and must be in .pfx format.
Setup
1. Sign up for the Access Management installer
Fill out the Access Management On-Premise Trial Form to receive the installer from SecurEnvoy.
2. Run the Access Management installer.
The installer will now present the interactive installation steps.
3. Choose a language for the installation process.

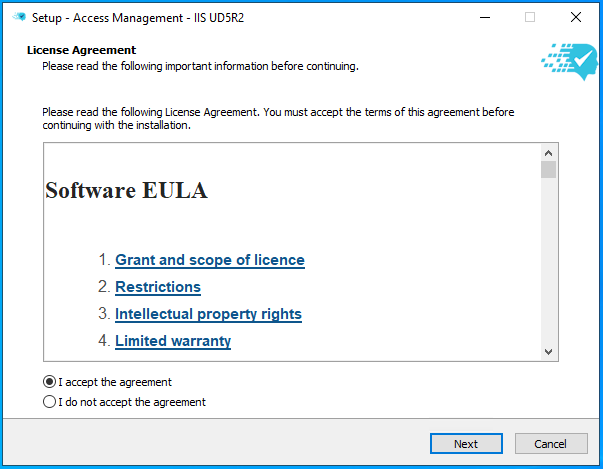
4. Accept the EULA.
5. Specify the installation path.
By default this is C:\SecurEnvoy\AccessManagement.

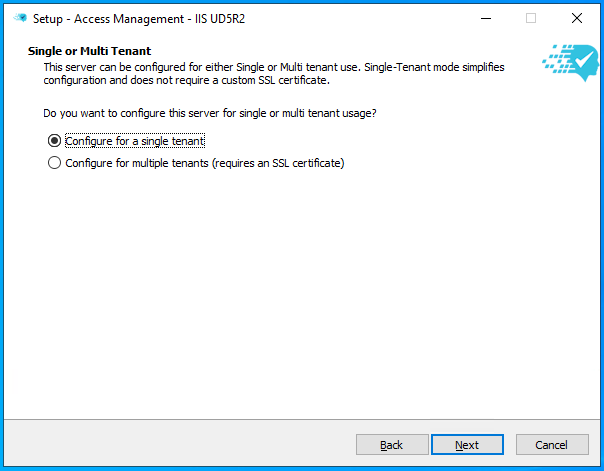
6. Set the installation type.
Specify if the installation is for a single tenant (most common) or for multiple tenants (for MSPs).
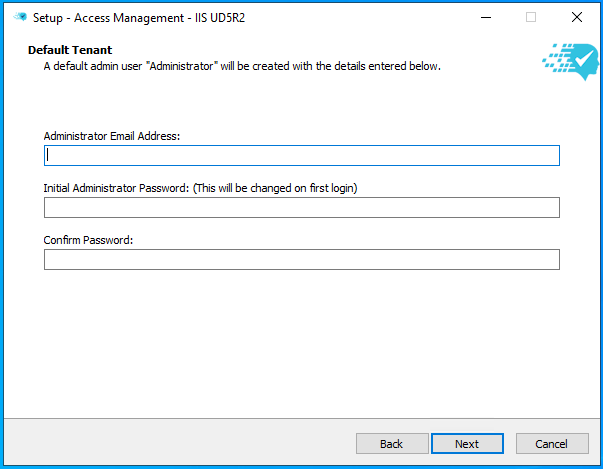
7. Enter the initial admin credentials.
The email address will be used for the default administrator account. The password will be changed upon first login.
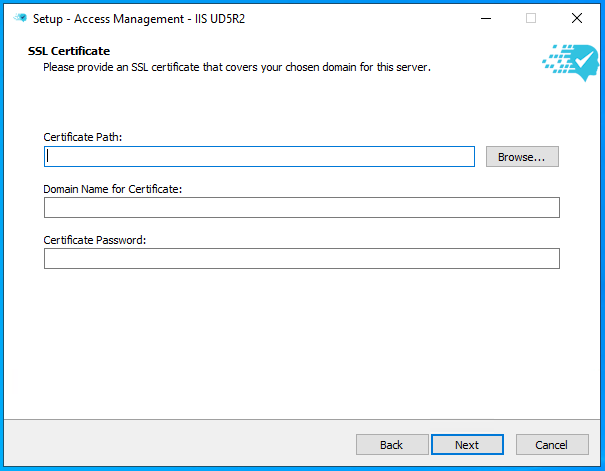
8. Select an SSL certificate for the tenant.
This must match the subdomain set in this installer which may be different from the hostname of the server, for example: securenvoy.example.com
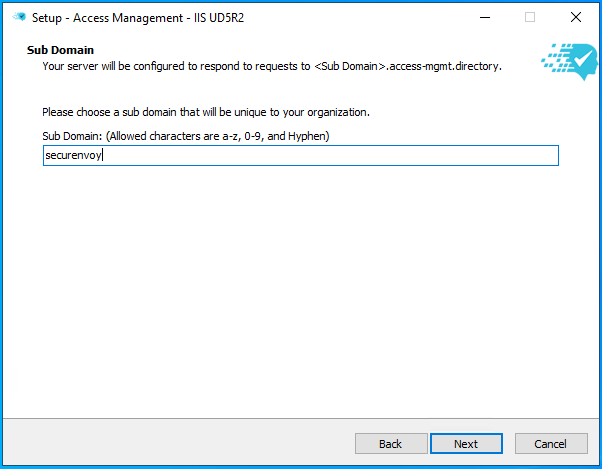
9. Specify the subdomain.
This will form part of the URL that Access Management will be made available at. SecurEnvoy recommends using 'securenvoy' as the subdomain.
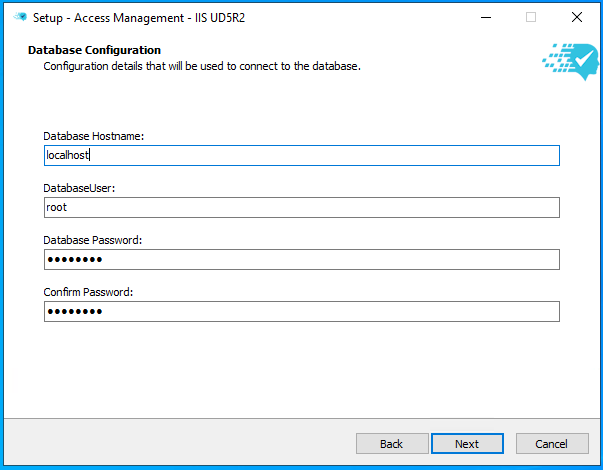
10. Enter the details for the SQL database.
11. Check the configured settings.
Confirm the details are correct before clicking 'Install'.
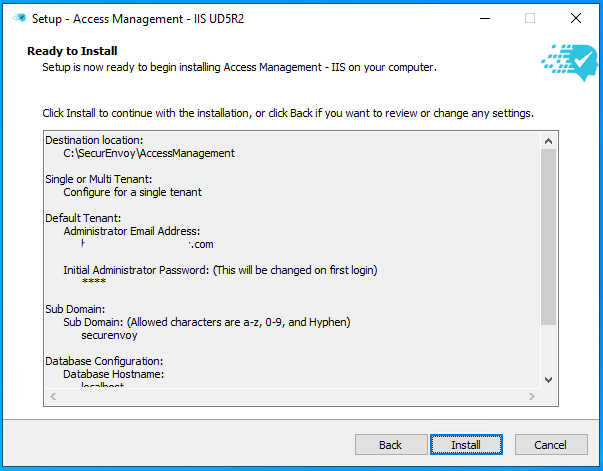
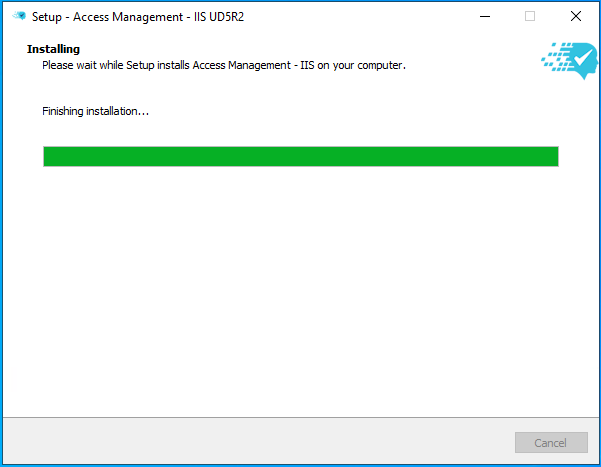
SecurEnvoy Access Management will now install.
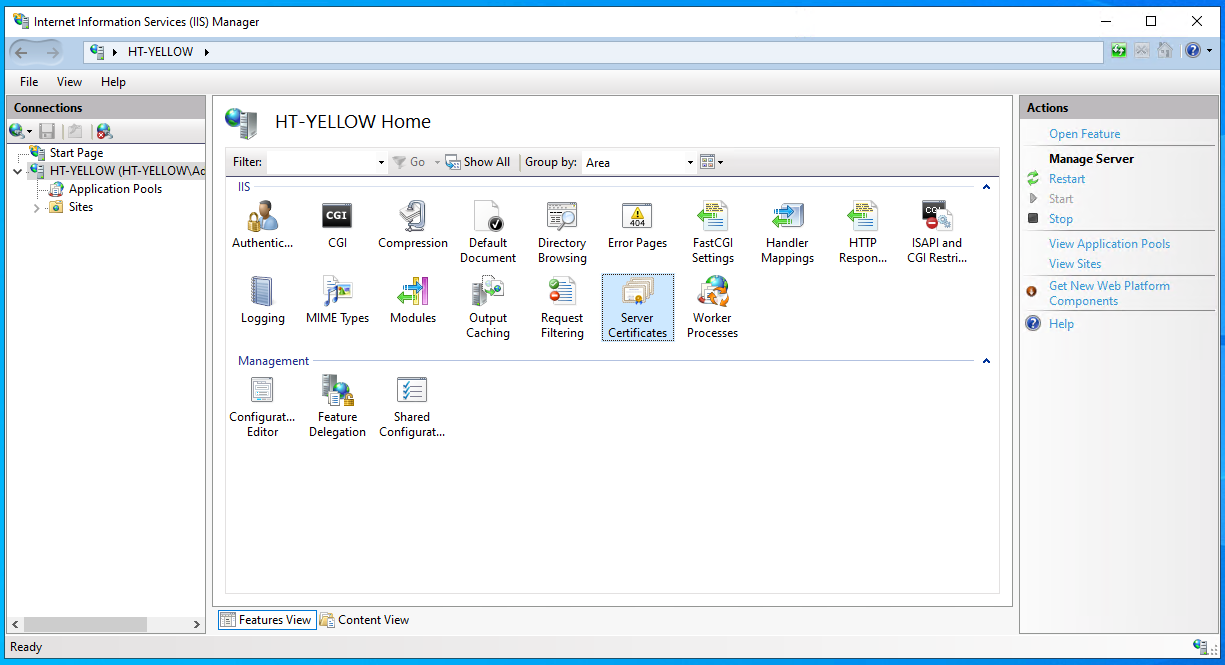
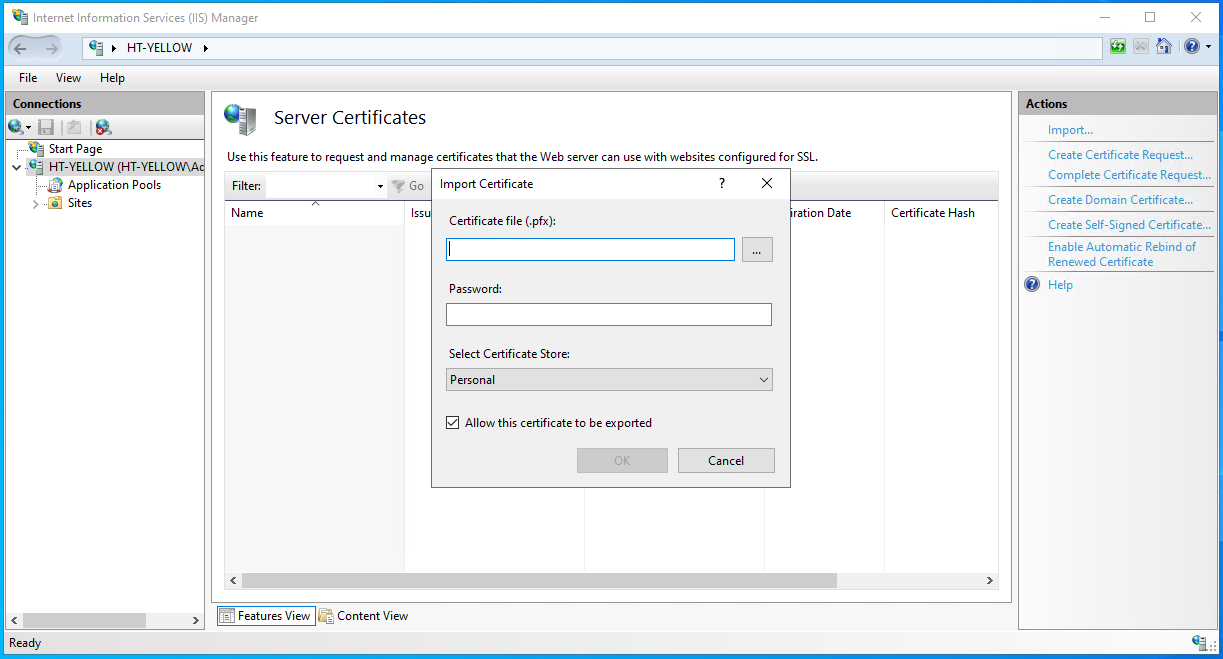
12. Import the certificate to IIS.
Once the installation is complete, open IIS and go to 'Server Certificates'. Import the certificate to be used by Access Management.
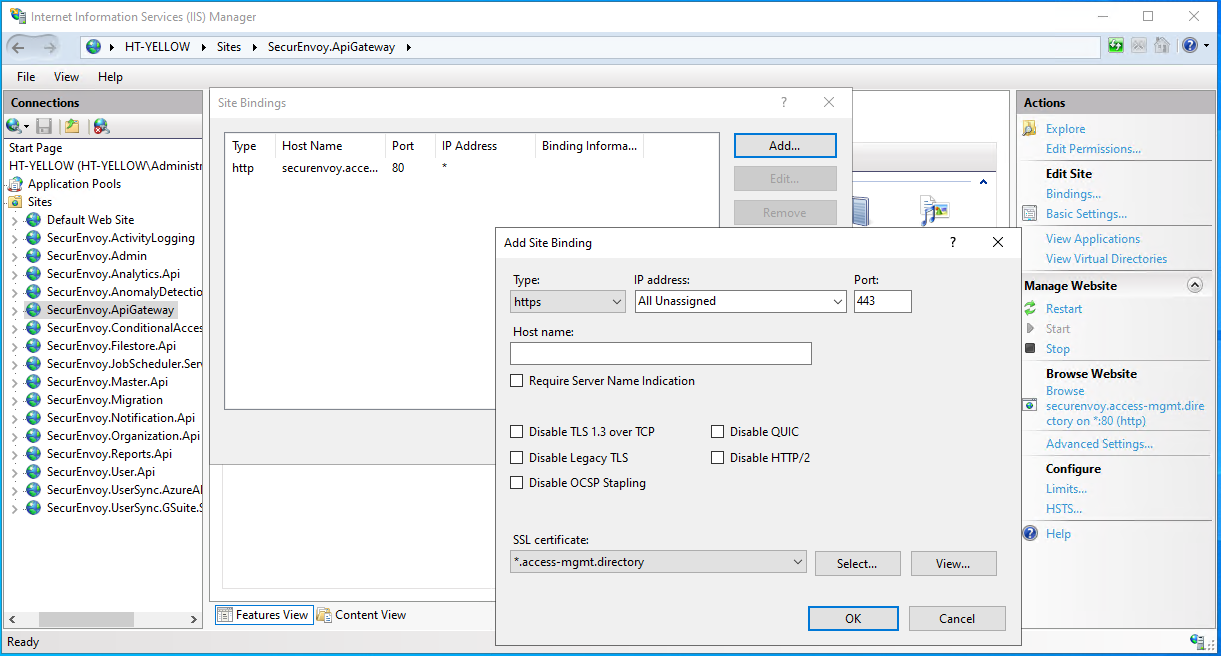
13. Configure the certificate on the ApiGateway.
While still in IIS, navigate to the SecurEnvoy.ApiGateway site and edit the bindings. Click 'Add' to create a new HTTPS binding and select the appropriate certificate. Leave the host name field blank and the IP address as 'All Unassigned'. Click OK.
Access Management is now ready to use.
14. Sign in to Access Management.
Go to the Access Management URL configured in the previous steps, for example: https://securenvoy.example.com.
Sign in with the 'administrator' username and the password created in step 7. Access Management will show a prompt to change the administrator password. Ensure the new password is stored securely.