Windows
Recommended Specifications
- 16GB RAM
- 4 CPUs
- 250GB Hard Disk space
Minimum Specifications
- 4GB RAM
- 1 CPU
- 50GB Hard Disk space
Pre-requisites
- A Windows server 2022 or newer, with internet access
- A user account capable of installing programs.
- Microsoft IIS with the CGI and Websocket Protocol modules.
- Microsoft HttpPlatformHandler.
- Microsoft .net 8.0 hosting bundle.
- Python 3.12 (Ensure the following options are enabled during installation: "Install Python for all users", "Add Python to environment variables", and "pip").
- MariaDB for Windows with 'Enable access from remote machines for root user' enabled.
- A signed SSL Certificate for the FQDN you will use for Access Management (wildcart certificates are accepted).
- A DNS entry for the FQDN you will use for Access Management.
Setup
- Fill out the Access Management On-Premise Trial Form to receive the installer from SecurEnvoy.
- Run the Access Management installer.
The installer will now present the interactive installation steps.
- Choose a language for the installation process.

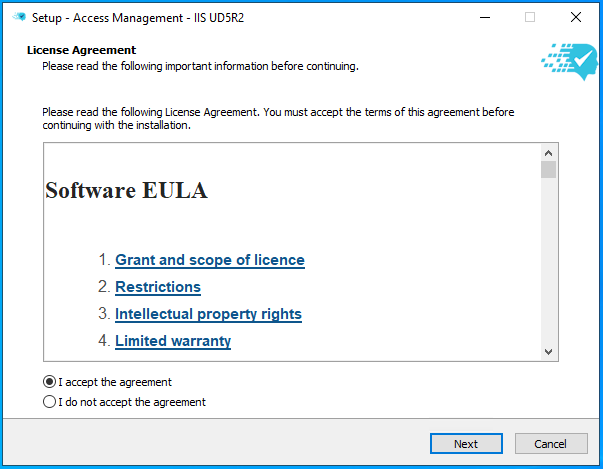
- Accept the EULA.
- Specify the installation path. By default this is C:\SecurEnvoy\AccessManagement.

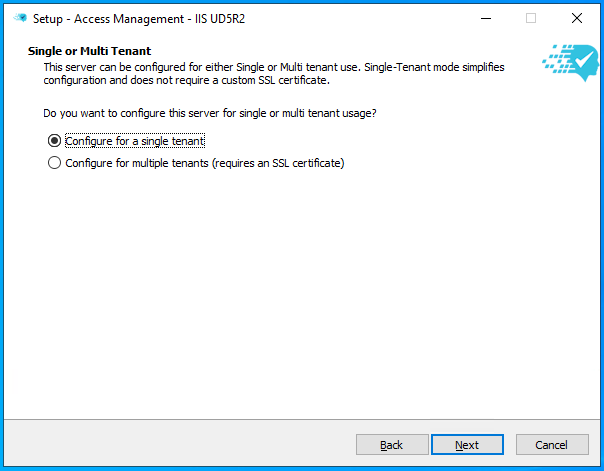
- Specify if the installation is for a single tenant (most common) or for multiple tenants (for MSPs).
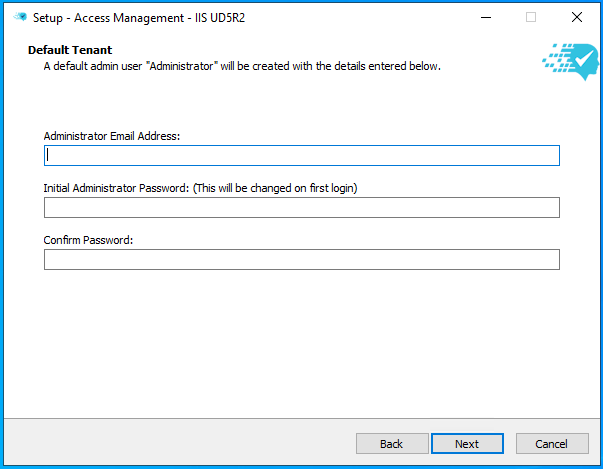
- Enter an email address and password for the default administrator account. The password will be changed upon first login.
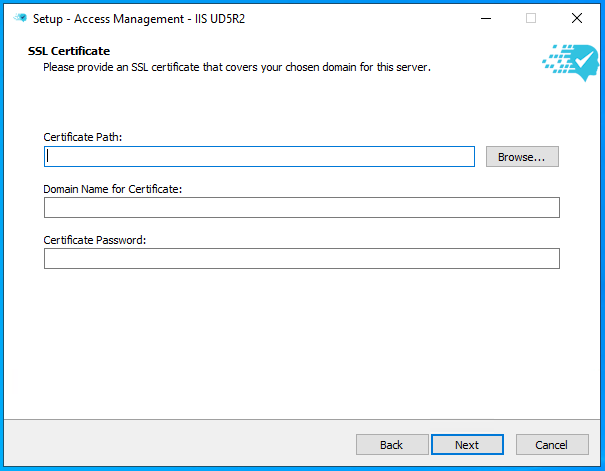
- Select an SSL certificate for the tenant. This must match the subdomain set in this installer which may be different from the hostname of the server, for example: securenvoy.example.com
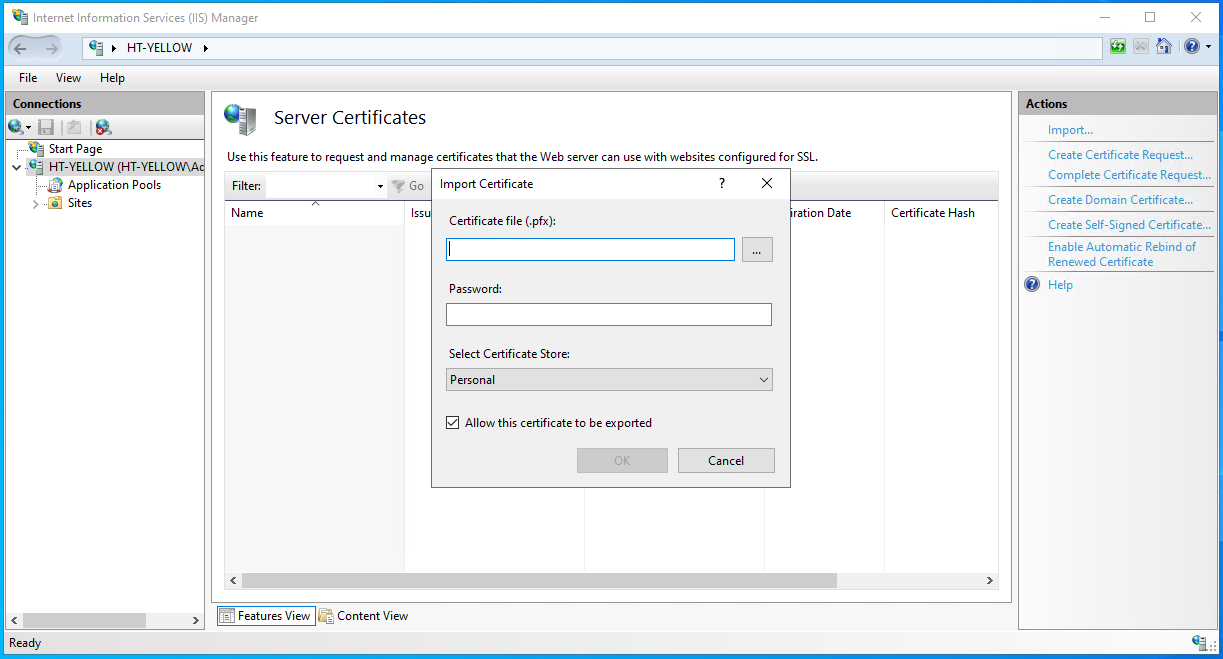
Certificates
The certificate must be a client certificate (i.e. not a CA certificate), and must be in .pfx format.
SecurEnvoy recommends storing the certificate in the Access Management installation directory.
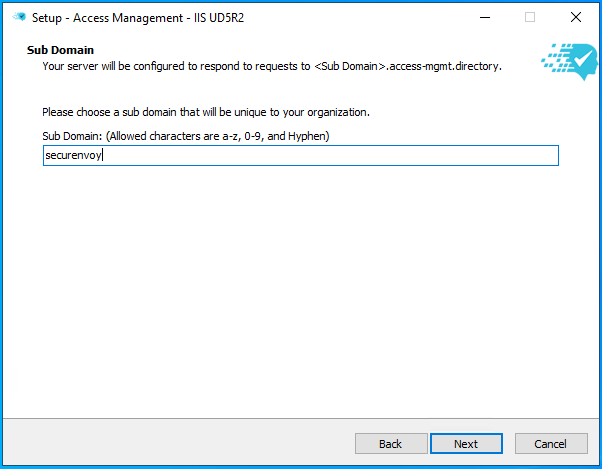
- Specify the subdomain that Access Management will be made available at. SecurEnvoy recommends using 'securenvoy' as the subdomain.
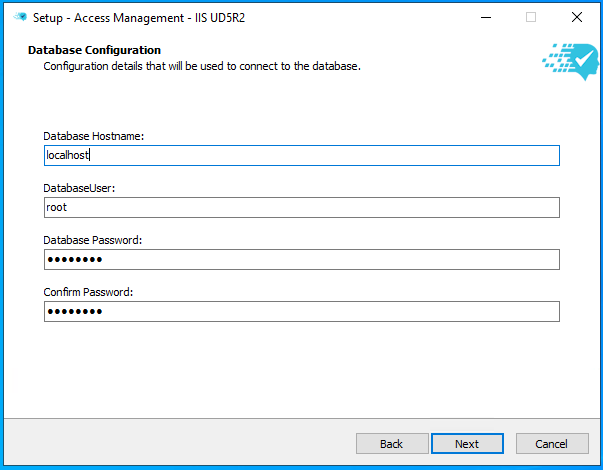
- Enter the details for the MariaDB database.
- Confirm the details are correct before clicking 'Install'.
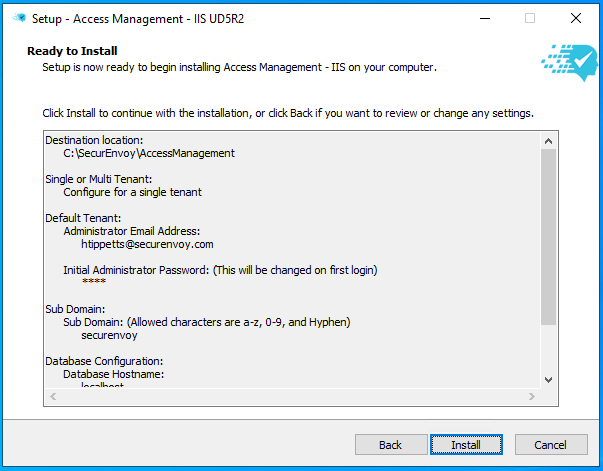
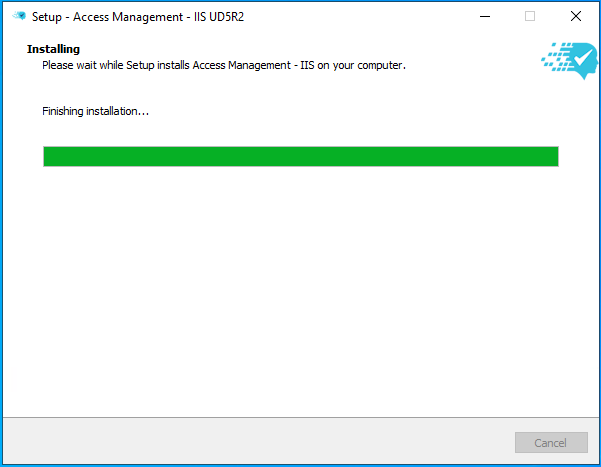
SecurEnvoy Access Management will now install.
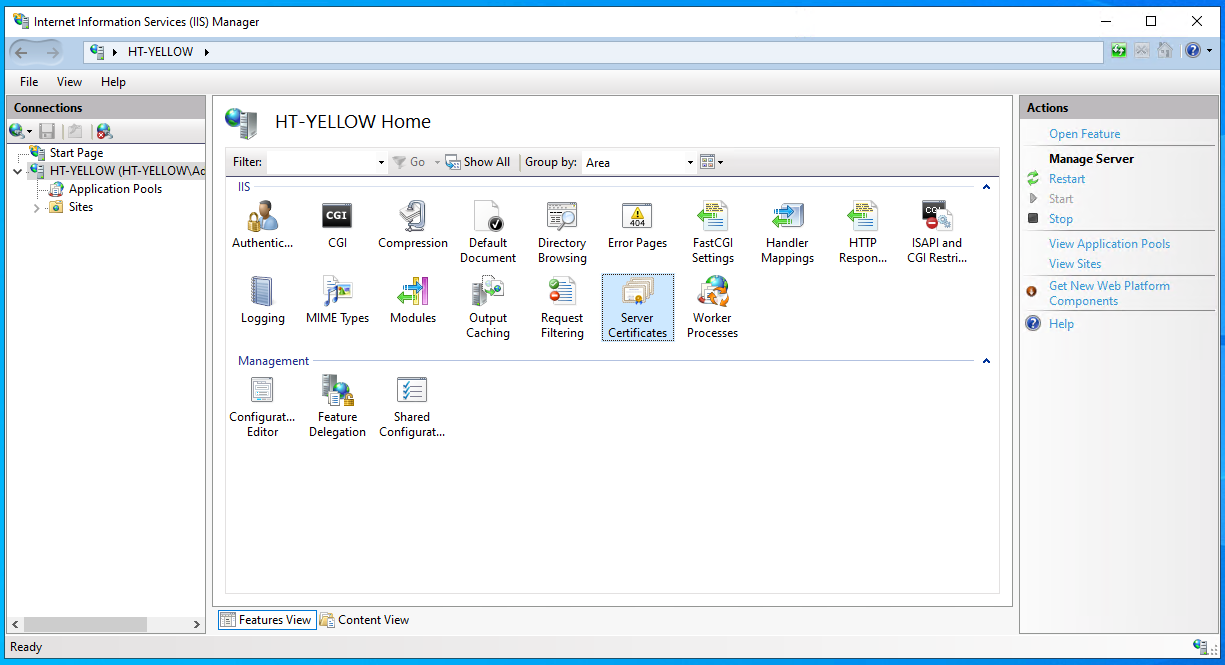
- Once the installation is complete, open IIS and go to 'Server Certificates'. Import the certificate to be used by Access Management.
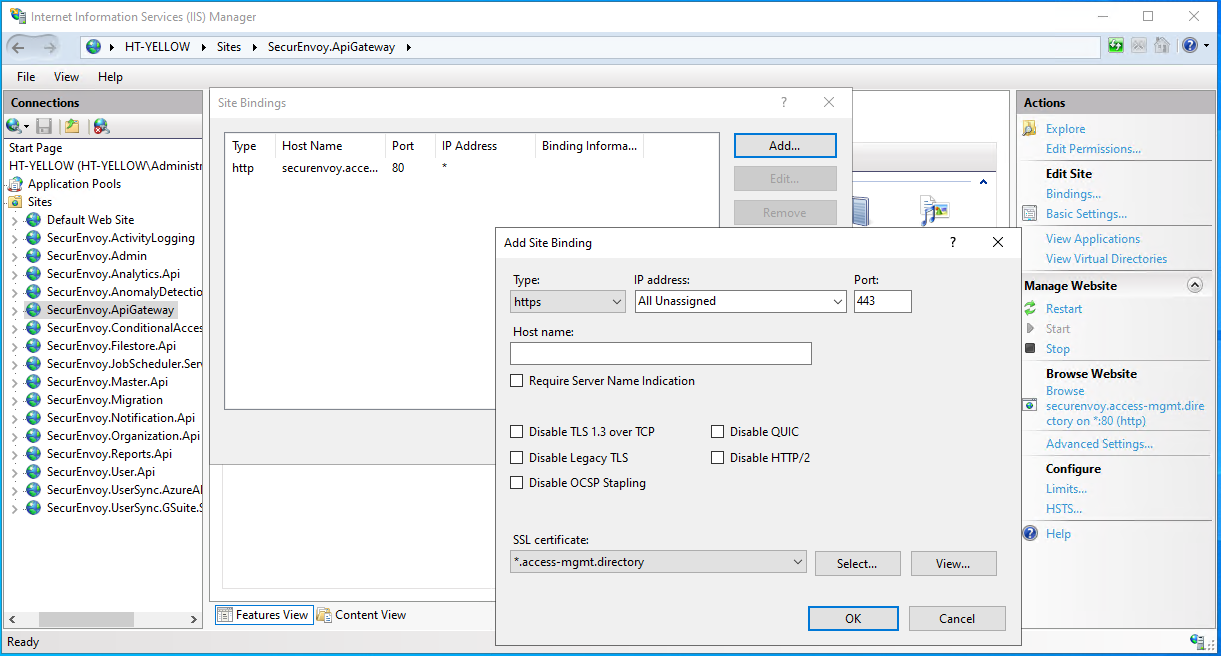
- While still in IIS, navigate to the SecurEnvoy.ApiGateway site and edit the bindings. Click 'Add' to create a new HTTPS binding and select the appropriate certificate. Leave the host name field blank and the IP address as 'All Unassigned'. Click OK.
- Create a DNS A record for the fully qualified domain name of the certificate and points to the IP address of the server.
Access Management is now ready to use.
- Go to the Access Management URL configured in the previous steps, for example:
https://securenvoy.example.com. - Sign in with the 'administrator' username and the password created in step 7.
- Access Management will show a prompt to change the administrator password. Ensure the new password is stored securely.